
Getting Started
Install, pick a folder, save a page. Five minutes.
Install Ewig
Free on the App Store. One download covers Mac, iPhone, iPad and Apple Watch, synced through your iCloud.
Mac, iPhone and iPad capture their own snapshots. A save that cannot run right away, from the Watch for example, queues as pending and archives later.
Choose where your archive lives
On first launch Ewig asks one question.
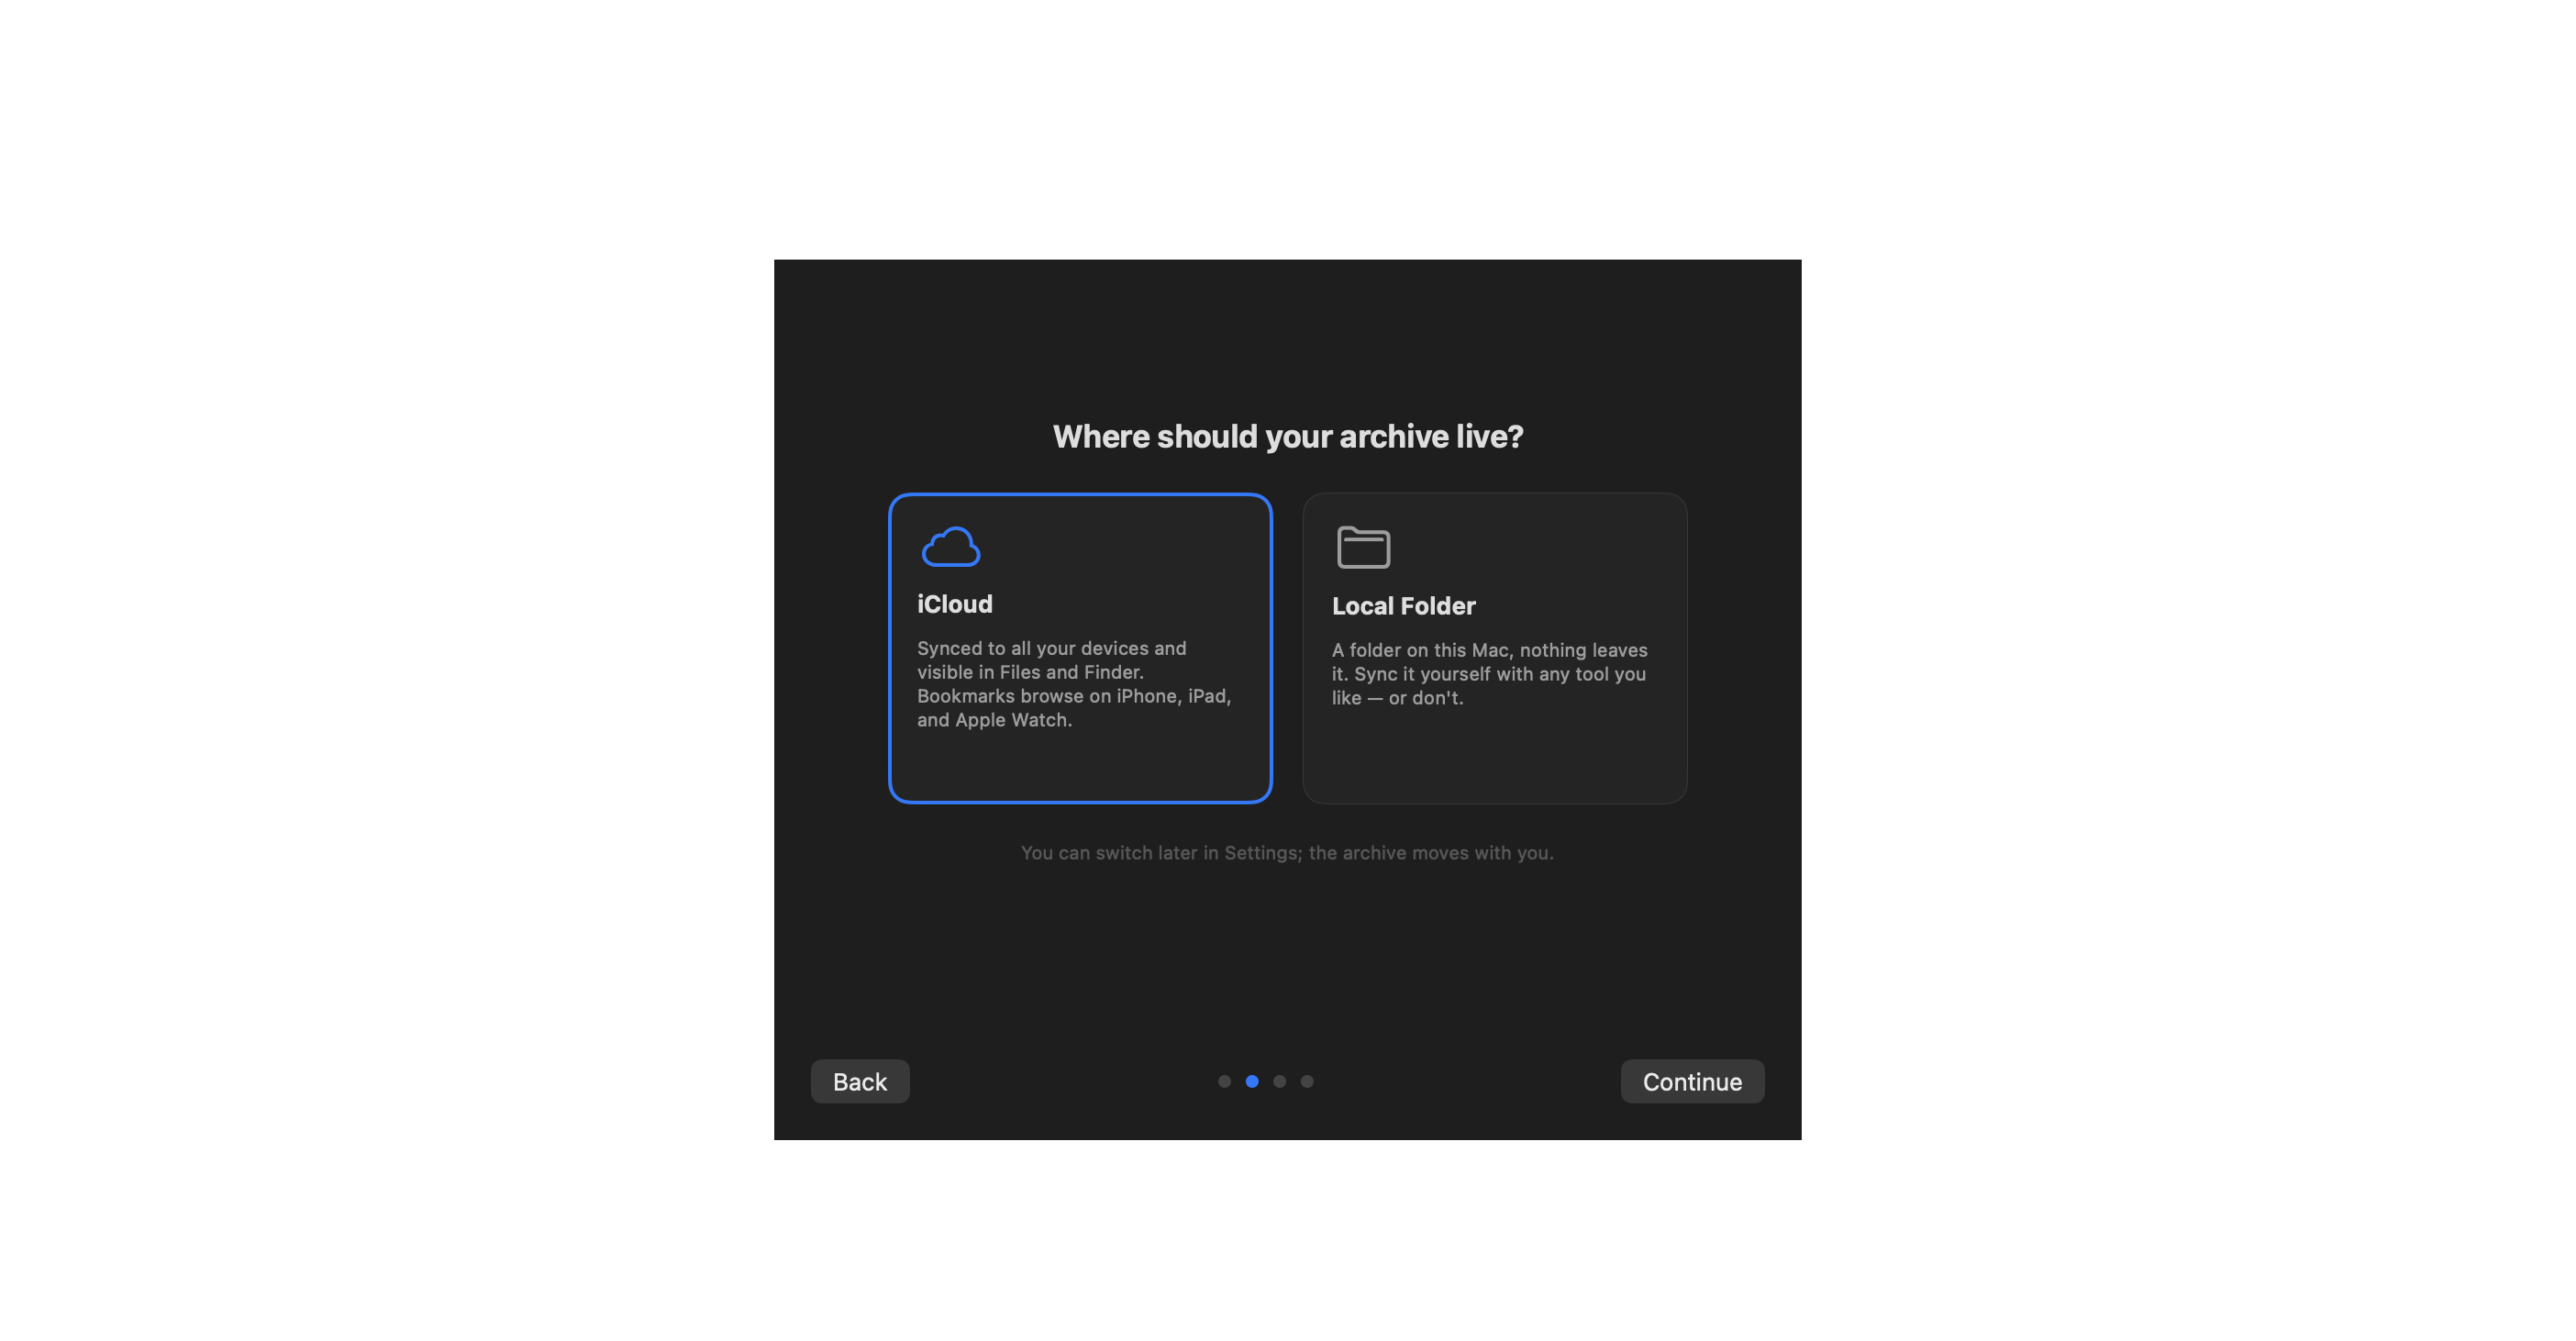
- iCloud Drive, recommended: syncs to every device as real files, visible in Files and Finder.
- Local folder: everything stays on your Mac.
A plain folder either way. See Your Archive on Disk.
Enable the browser extensions
Onboarding enables the Safari extension and links to the Chrome Web Store for Chrome, Brave, Edge or Arc. One click saves the page. See Browser Extensions.
Save your first bookmark
- Click the Ewig icon in the browser toolbar.
- Share → Save to Ewig from any app on Mac or iOS.
- ⌘N in the app, paste a URL.
pbpaste | ewig addin the terminal.
New bookmarks land in Unsorted. Archived on the card means the page is kept.
Where to go next
- Saving & Snapshots: how capture works.
- Collections & Organization: file the inbox.
- Search & Command Palette: ⌘K.